
.Net MAUI enables us to set the iOS large page title for devices that use iOS 11 or greater. A large page title is left aligned and uses a larger font and when the user scrolls the content up then the title returns to the center of the navigation bar. So In this article, I’m going to show you how to set iOS large page title in MAUI.
Let’s Start
1 – Enable large page title for iOS in App.xaml.cs
using Microsoft.Maui.Controls.PlatformConfiguration;
using Microsoft.Maui.Controls.PlatformConfiguration.iOSSpecific;
using Application = Microsoft.Maui.Controls.Application;

namespace MAUIiOSLargePageTitleDemo;

public partial class App : Application
{
    public App()
    {
        InitializeComponent();

        // Enable Large Title for iOS
        var navigationPage = new Microsoft.Maui.Controls.NavigationPage(new MainPage());
        navigationPage.On<iOS>().SetPrefersLargeTitles(true);
        MainPage = navigationPage;
    }
}
- In the above App.xaml.cs file I have enabled the large page title by calling SetPrefersLargeTitles() method to the navigation page.
- And now it applies to all the pages in the navigation stack.
- And This behavior can be overridden on each page by setting the ios:Page.LargeTitleDisplay attached property.
- We can also enable this in xaml using NavigationPage.PrefersLargeTitles attached property as follows :
<NavigationPage xmlns="http://schemas.microsoft.com/dotnet/2021/maui"
                xmlns:x="http://schemas.microsoft.com/winfx/2009/xaml"
                xmlns:ios="clr-namespace:Microsoft.Maui.Controls.PlatformConfiguration.iOSSpecific;assembly=Microsoft.Maui.Controls"
                ios:NavigationPage.PrefersLargeTitles="true">
</NavigationPage>
2 – Apply large page title to the MainPage.xaml
<?xml version="1.0" encoding="utf-8" ?>
<ContentPage
    x:Class="MAUIiOSLargePageTitleDemo.MainPage"
    xmlns="http://schemas.microsoft.com/dotnet/2021/maui"
    xmlns:x="http://schemas.microsoft.com/winfx/2009/xaml"
    xmlns:ios="clr-namespace:Microsoft.Maui.Controls.PlatformConfiguration.iOSSpecific;assembly=Microsoft.Maui.Controls"
    Title="Main Page"
    ios:Page.LargeTitleDisplay="Always">

    <ScrollView>
        <VerticalStackLayout
            Padding="30,0"
            Spacing="25"
            VerticalOptions="Center">

            <Image
                HeightRequest="200"
                HorizontalOptions="Center"
                SemanticProperties.Description="Cute dot net bot waving hi to you!"
                Source="dotnet_bot.png" />

            <Label
                FontSize="32"
                HorizontalOptions="Center"
                SemanticProperties.HeadingLevel="Level1"
                Text="Hello, World!" />

            <Label
                FontSize="18"
                HorizontalOptions="Center"
                SemanticProperties.Description="Welcome to dot net Multi platform App U I"
                SemanticProperties.HeadingLevel="Level2"
                Text="Welcome to .NET Multi-platform App UI" />


            <Button
                x:Name="CounterBtn"
                Clicked="OnCounterClicked"
                HorizontalOptions="Center"
                SemanticProperties.Hint="Counts the number of times you click"
                Text="Click me" />

            <Image
                HeightRequest="200"
                HorizontalOptions="Center"
                SemanticProperties.Description="Cute dot net bot waving hi to you!"
                Source="dotnet_bot.png" />

            <Label
                FontSize="32"
                HorizontalOptions="Center"
                SemanticProperties.HeadingLevel="Level1"
                Text="Hello, World!" />

        </VerticalStackLayout>
    </ScrollView>

</ContentPage>
- As in the above MainPage.xaml I have set the large page title by setting the ios:Page.LargeTitleDisplay attached property.
- We can also set the large page title using c# as well :
On<iOS>().SetLargeTitleDisplay(LargeTitleDisplayMode.Never);
- The values of ios:Page.LargeTitleDisplay will be :
| Always : Force navigation bar to use large title. Automatic : Use the same previous page navigation bar style (large or small). Never : Force navigation bar to use default (small) title. |
3 – Apply large page title to the SecondPage.xaml
<?xml version="1.0" encoding="utf-8" ?>
<ContentPage
    x:Class="MAUIiOSLargePageTitleDemo.SecondPage"
    xmlns="http://schemas.microsoft.com/dotnet/2021/maui"
    xmlns:x="http://schemas.microsoft.com/winfx/2009/xaml"
    xmlns:ios="clr-namespace:Microsoft.Maui.Controls.PlatformConfiguration.iOSSpecific;assembly=Microsoft.Maui.Controls"
    Title="Second Page"
    ios:Page.LargeTitleDisplay="Automatic">

    <ScrollView>
        <VerticalStackLayout
            Padding="30,0"
            Spacing="25"
            VerticalOptions="Center">

            <Image
                HeightRequest="200"
                HorizontalOptions="Center"
                SemanticProperties.Description="Cute dot net bot waving hi to you!"
                Source="dotnet_bot.png" />

            <Label
                FontSize="32"
                HorizontalOptions="Center"
                SemanticProperties.HeadingLevel="Level1"
                Text="Hello, World!" />

            <Label
                FontSize="18"
                HorizontalOptions="Center"
                SemanticProperties.Description="Welcome to dot net Multi platform App U I"
                SemanticProperties.HeadingLevel="Level2"
                Text="Welcome to .NET Multi-platform App UI" />

            <Image
                HeightRequest="200"
                HorizontalOptions="Center"
                SemanticProperties.Description="Cute dot net bot waving hi to you!"
                Source="dotnet_bot.png" />

            <Label
                FontSize="32"
                HorizontalOptions="Center"
                SemanticProperties.HeadingLevel="Level1"
                Text="Hello, World!" />

        </VerticalStackLayout>
    </ScrollView>
</ContentPage>
Result
That’s all for now!
You can check the full source code here.
Happy Coding! 😀
You may also like
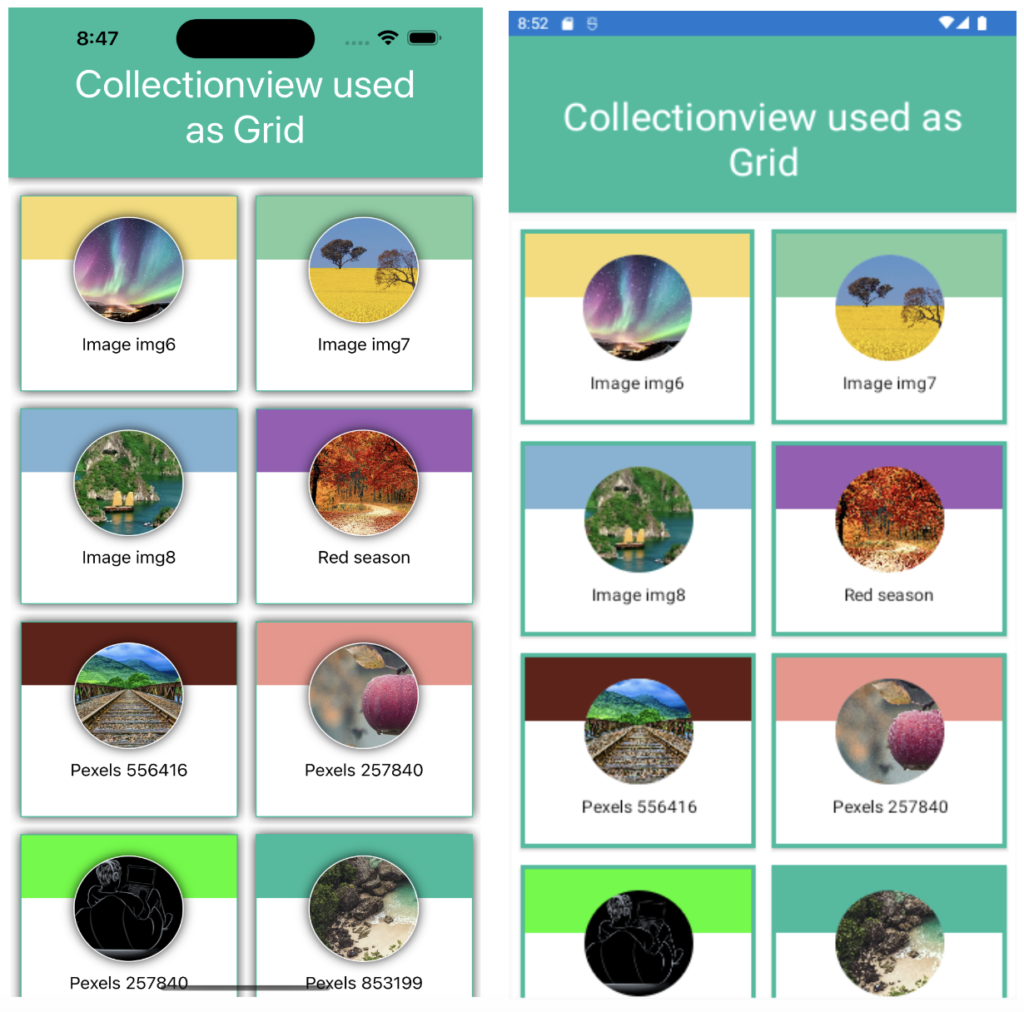
How to use CollectionView as a GridItemLayout in Xamarin Forms
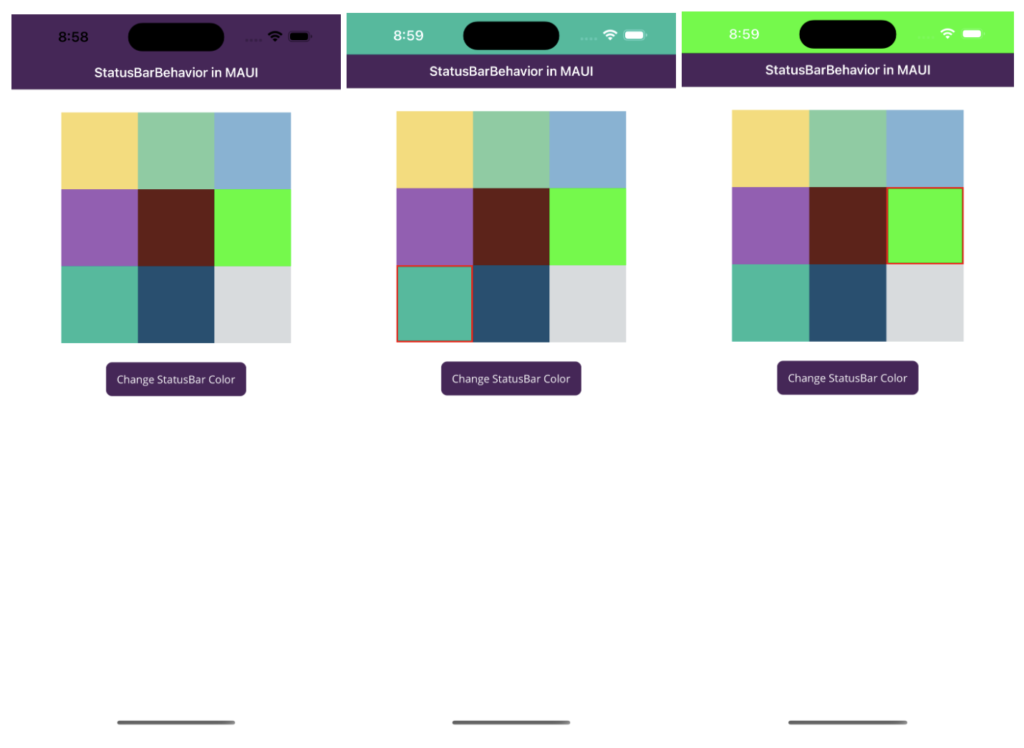
How to change StatusBar color in MAUI